Elden Ring Nightreign Ironeye Remembrance quest walkthrough
Here’s how to wrap up Ironeye’s Remembrance and find that mysterious traitor in Elden Ring Nightreign.


Elden Ring Nightreign is home to eight Nightfarers, all of which have their own Remembrance quests to slowly complete as you progress through the game’s array of Nightlords. These Remembrances take you back in time, giving you an insight into these characters, what they’re all about, and how they wound up here.
Honestly, these Remembrances also get pretty dark, and Ironeye’s is no exception. Featuring deceit, murder, and a concerning discovery, here’s your Elden Ring Nightreign Ironeye Remembrance quest walkthrough to help you out with the archer’s objectives.
Elden Ring Nightreign Ironeye Remembrance quest walkthrough
The Ironeye Remembrance quest in Nightreign consists of three separate Remembrance events.
Ironeye Remembrance #1
The first Ironeye Remembrance event in Nightreign is available during Chapter 4 of his entries in the Journal. If you’re yet to unlock this, you’ll want to go ahead and complete some Expeditions while playing as Ironeye until you eventually unlock a Memory Fragment, giving you access to new chapters.
When you unlock Ironeye’s first Remembrance and are ready, begin. Once transported into the Remembrance, you want to open your map and look for any yellow exclamation marks; this is your quest objective, and there’ll likely be someone there for you to speak to.
In this instance, speak to the Priestess in the west of the Hold. If you go past the Visual Codex and down the stairs there, she's found at the bottom of them.
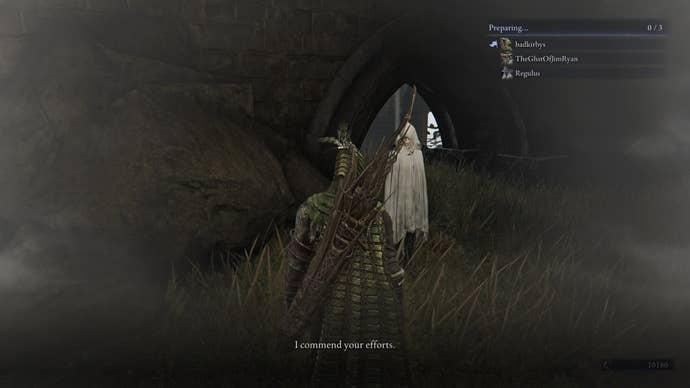
The Priestess will reveal that there is a Traitor who needs to be killed, and you can then ‘Accept task’. This then gives you a personal objective – usually a task that needs to be completed while on an Expedition – to ‘find the cataclysm in Limveld’.
Embark on an Expedition and once you land, look at your map; there will be an orange-red quest marker that you need to visit. Upon arrival, the Night Huntsman will spawn for you to defeat, and afterwards, there’ll be a glowing, legendary item – the Traitor’s Letter – to retrieve. You can then continue the Expedition as you usually would.
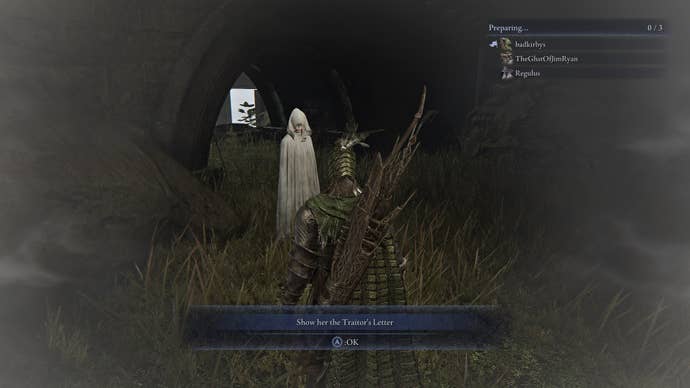
Once you’re returned to the Hold, speak to the Priestess again and give her the Traitor’s Letter. This section of Ironeye’s Remembrance can then be concluded, and you’ll receive Ironeye’s Chalice and the Cracked Sealing Wax Relic as a reward.
Ironeye Remembrance #2
The second Remembrance event for Ironeye unlocks during Chapter 6 of his Journal entries in Nightreign, and once you start it, your objective will be to ‘find the traitor’. If you’re struggling to unlock this, it’s believed that you must defeat four Nightlords before you can commence this part of Ironeye’s Remembrance quest.
If you go to where you spoke to the Priestess – beneath the Hold – in the prior Remembrance event, look to the left of where she was standing. You’ll see another open door with a staircase leading downwards. This leads to the Crypt, which you can also fast-travel to using the list of locations shown beside your map (once you have discovered it).

In the Crypt, you’ll find your traitor: an Ironeye slumped up against an altar with the Priestess watching over him. Speak to the Priestess and then to the traitor, who’ll ask you to execute him. Oblige, and you’ll find that he somehow can’t quite be killed just yet.
Speak to the Priestess again to be given a new personal objective: ‘defeat the Darkdrift Knight in Limveld’.
Now, the Darkdrift Knight means business. In my opinion, he’s one of Nightreign’s more difficult Nightlords to take down (alongside Equilibrious Beast and Night Aspect). That said, if you go into his fight with some Lightning armaments and Holy Damage Negation, you’ll be more than alright.
Go ahead and embark on Expeditions against the Darkdrift Knight as Ironeye, while within the Remembrance, until you defeat him. If you’re struggling, here’s our Darkdrift Knight boss guide to help.
After Fulghor has been felled, you will receive the Edge of Order item. Back in the Hold, return to the traitor in the Crypt and kill him using it. At this point, he reveals a secret to Ironeye: Ironeye – and the others – are long dead, and they are cursed to be among Those Who Live in Death until the Nightlord is defeated. Guess what we’re doing next?
Speak to the Priestess and conclude the Remembrance. You will receive the Edge of Order Relic as a reward.
Ironeye Remembrance #3
The third and final Ironeye Remembrance event in Nightreign isn’t actually a Remembrance event, really.
If you wish to avoid spoilers, go ahead and defeat the Night Aspect and see what unfolds afterwards. For some help with that, here’s our Night Aspect boss guide.
If you don’t mind spoilers, then keep on reading!
Upon defeating the Night Aspect as Ironeye, you’ll be transported to a desolate version of the Roundtable Hold that looks as though it is inside the boss arena.
Venture on inside to eventually come to a corpse sitting cross-legged. You’ll be given two options upon interacting with it; offer the Nightlord’s Rune, or clench your dagger. Here’s what each option does:
- Offer the Nightlord’s Rune: You will receive the primary ending for Nightreign. This does not fulfil Ironeye’s Remembrance or unlock his Remembrance Outfit, but you will get an achievement.
- Clench dagger: You will receive Ironeye’s ending for Nightreign. This concludes his Remembrance and unlocks his Remembrance outfit.
Don’t worry about being locked out of either option, as you can always come back and redo endings.
For the sake of completing Ironeye’s Remembrance, I recommend choosing ‘Clench dagger’. If you then defeat the Night Aspect again, as Ironeye or as someone else, you can choose to offer the Nightlord’s Rune again and unlock the original ending for the game.
If you choose ‘clench dagger’, you’ll get a unique cutscene to enjoy before being transported back to the Hold. Ironeye’s Remembrance will then have been completed, and you’ll unlock his Remembrance Outfit.
For more on Elden Ring Nightreign, take a look at our tips and tricks for successful runs, all map events and what to do with them, and everything you need to know about the Everdark Sovereign game mode.